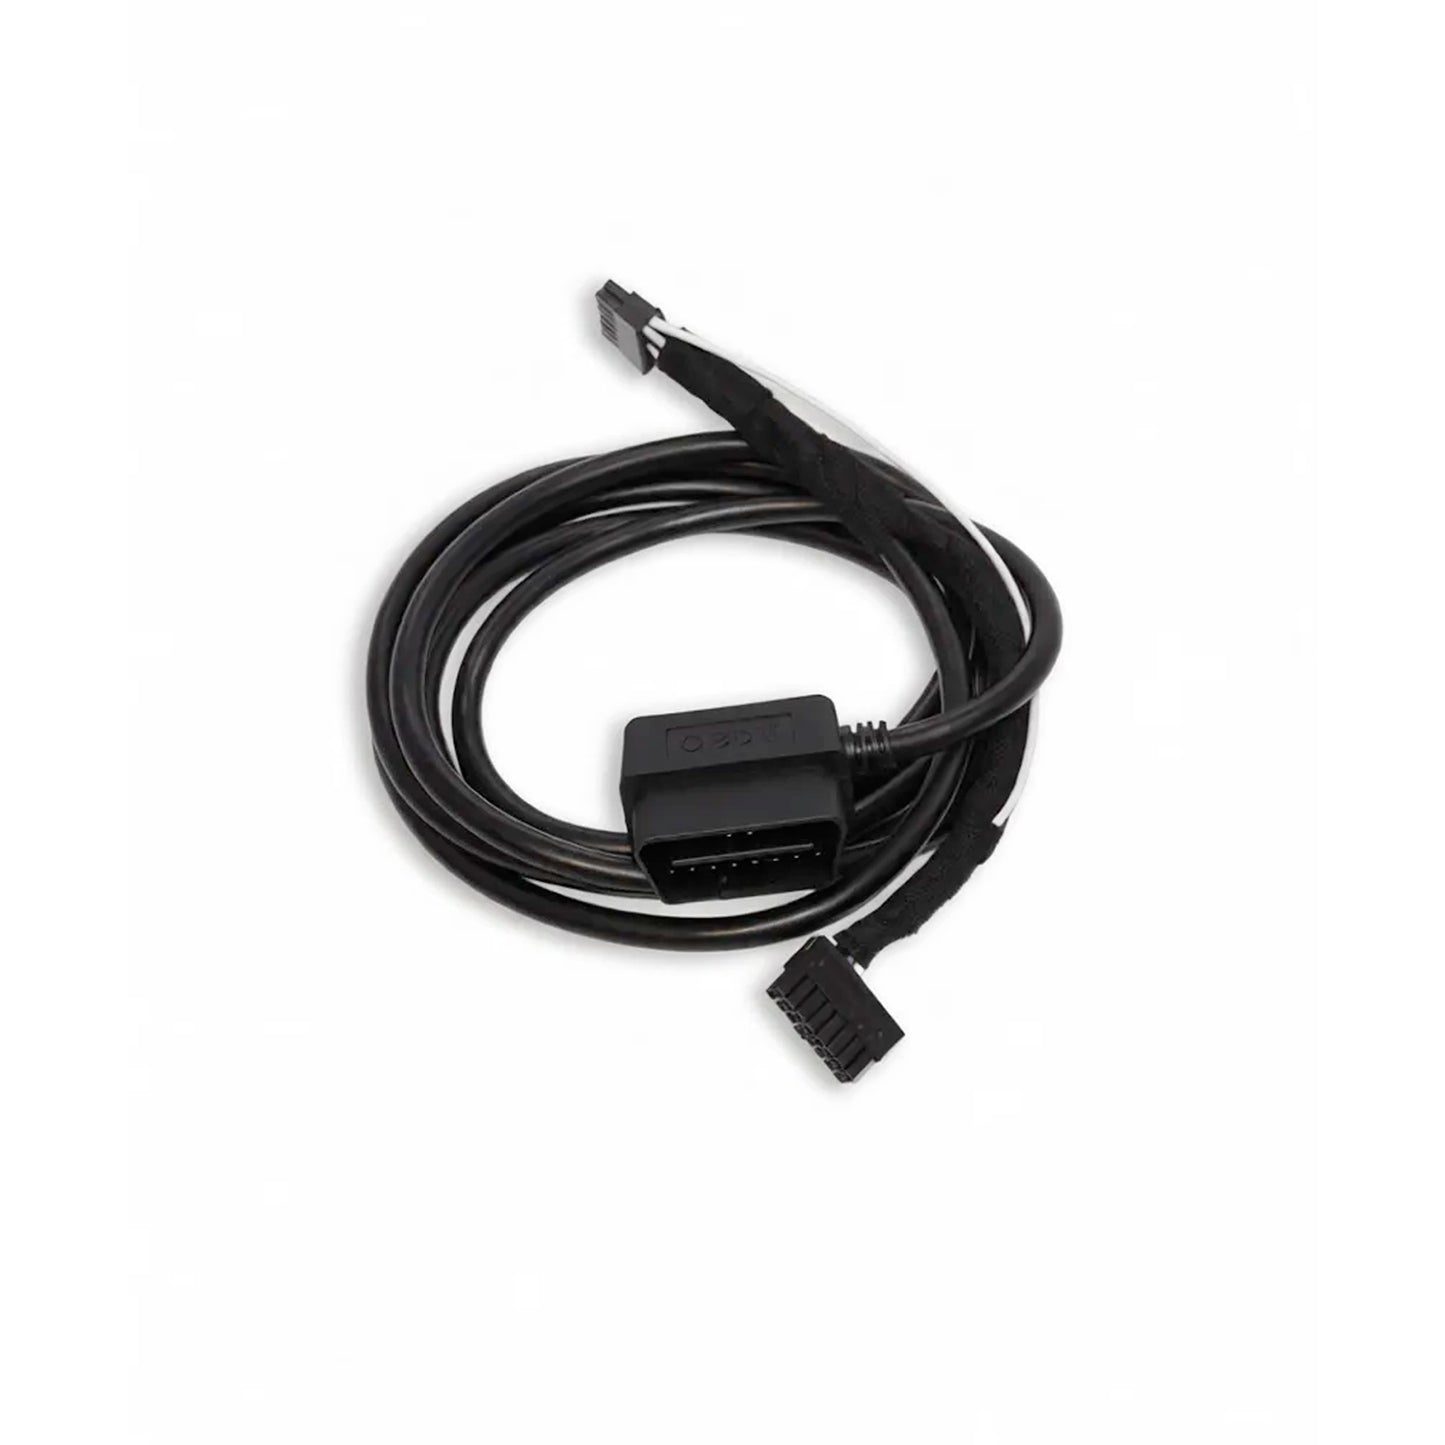
REVVGAUGE OBD2 Cable (Double)
REVVGAUGE OBD2 Cable (Double)
Run two REVVGAUGE units from one OBD-II port. The Double OBD2 Cable plugs into your vehicle’s diagnostic connector and splits native OBD2 CAN data to two gauge harness connections — the official way to run a dual-gauge OBD2 setup.
INTERNATIONAL SHIPPING IS NOW CLOSED. THE REMAINING STOCK IS AVAILABLE TO AUSTRALIAN CUSTOMERS ONLY.
PLEASE READ BELOW
- We support OBD-II vehicles that use the ISO 15765-4 (CAN) protocol. Most vehicles from 2008 onwards should be fine, but always check first.
AI is your friend for this:
"Does my car support the ISO 15765-4 (CAN) OBD-II protocol? My vehicle is a [YEAR] [MAKE] [MODEL] with a [ENGINE]."
Older OBD-II protocols (ISO 9141-2, ISO 14230 / KWP2000, SAE J1850) are NOT supported
Shipping on 7 August 2026.
📦 What’s included
- 1× OBD2 cable (double) — vehicle OBD-II port to two REVVGAUGE Molex connections
- 2 m main cable length — plus a 20 cm extension to the second Molex connector
- Pre-wired CAN — CAN Hi and CAN Lo routed to standard OBD-II pins (pin 6 CAN H, pin 14 CAN L)
- Lighting input wired — daisy-chained on a single wire to both gauge Molex connections (pin 16)
Does not include REVVGAUGE units or wiring harnesses.
⚡ Why use this cable
- Dual-gauge OBD2 — share one OBD-II connection between two REVVGAUGE units
- Native OBD2 — both gauges receive engine and vehicle data from REVVGAUGE’s built-in OBD2 protocol
- Reach for two gauges — 2 m to the first Molex, 20 cm extension to the second for flexible dual-gauge routing
- Shared lighting input — one daisy-chained lighting wire feeds both gauges for automatic light/dark mode switching
- Works with your standard loom — populate any remaining Molex positions on each connector with the pre-crimped wires from each gauge’s wiring kit
- Official dual limit — supports the maximum of 2 gauges per vehicle on OBD2
📋 Technical specifications
| Version | Double — 2 gauge connections |
|---|---|
| Vehicle connector | OBD-II / SAE J1962 (16-pin DLC) |
| CAN routing | CAN H → DLC pin 6 · CAN L → DLC pin 14 |
| Cable length | 2 m main run · 20 cm extension to second Molex |
| Gauge connectors | 2× Molex Micro-Fit (gauge end) |
| Lighting input | Daisy-chained on one wire to both Molex connectors (pin 16 — headlamp / dimmer sense) |
| Gauge connections | 2× REVVGAUGE harness connections |
| Max gauges (OBD2) | 2 per vehicle (officially supported) |
| Compatibility | REVVGAUGE Gauge Unit V1.0 |
🔧 Installation
Plug the vehicle end into your OBD-II diagnostic port. Connect each gauge end to a separate REVVGAUGE Molex connector — CAN and lighting input are both carried on the cable. Lighting is daisy-chained on a single wire to both Molex connectors.
The OBD2 cable only populates the pins it needs. Insert any other pre-crimped wires from each gauge’s standard loom (included with the gauge) into the remaining Molex positions for analog sensors, outputs, or anything else your install requires.
Enable the onboard 120 Ω CAN termination in the REVVGAUGE app on each gauge only when that unit is at an end of the CAN bus segment that requires termination.
Only 2 gauges are officially supported per vehicle on OBD2. For a single gauge, use the Single OBD2 Cable.
Couldn't load pickup availability